Saturday, January 16, 2010

Contemporary Landscape

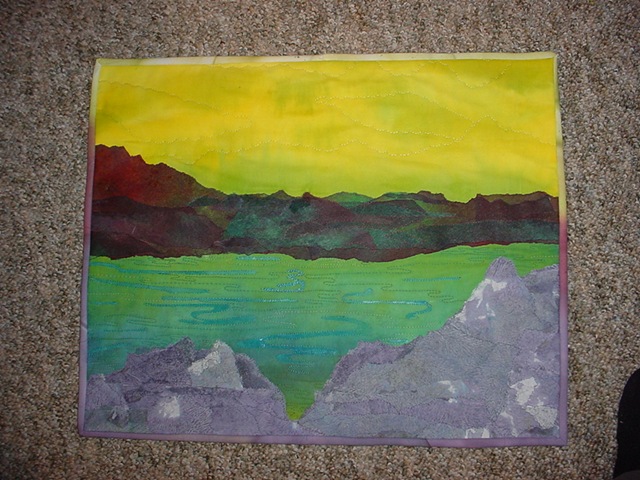
One of the classes I am teaching (actually tomorrow), is a landscape. It uses mixed media techniques such as hand painted fabric, paper towel mountains, wrapping paper lakes and thread trees.

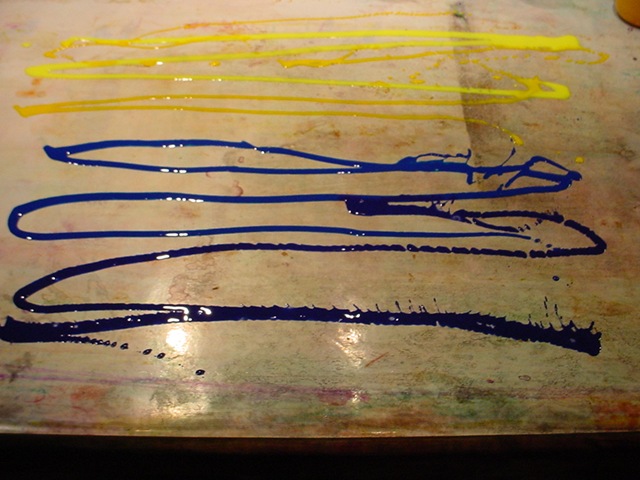
Here is the process I use to make the fabric:

DSC00750   DSC00751


Below:

Once the paint is spread on the table, I carefully place a piece of fabric over it and gently press it into the paint.

DSC00752        DSC00753


Here is the completed picture with paper towel mountains.

   DSC00763   DSC00758


DSC00762

This lesson is done just in time for tomorrow!


Monday, January 4, 2010

Christmas Haul!

So I am home and DH is home from the long road trip. It took me hours to unpack. I was watching "Hoarders" on TV and when I looked at my room and the one on the TV, there were marked similarities. I had a chuckle over that!

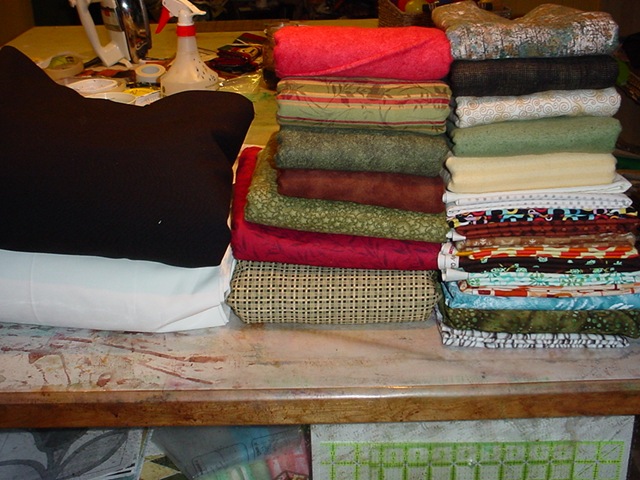
I know my trailer park is showing, but most of my purchases are from the dollar stores. I LOVE those places! I LOVE to find junk super cheap. My DH says that I can find more sh*t in an hour than most people can find in a year—he must mean men cause the woman I know could do some major damage as well... Since I only get 'outside' twice a year, I buy tons and tons of stuff. This is just the fabric! And I only had 45 minutes to shop!

DSC00749

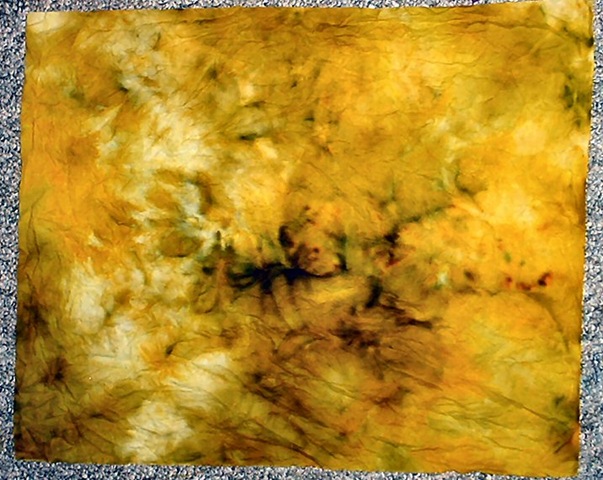
One of my purchases this time was some white cotton from Fabric Land. It was on 1/2 price, so only 4 bucks a yard. I didn't think it felt all that great, but hey, it was a good price. I bought the rest of one bolt (13 yards) and decided to leave the rest just because I didn’t think it was all that and decided if it was crap, I could use it for student projects. But wouldn't you know it--it is the BEST fabric I have ever used for painting.

DSC00756

This looks WAY better in person. I really need a better camera cause this piece is beautiful! Hello? Anyone listening? 

Now I have buyers envy—if ONLY I had bought 4 bolts of this stuff, I would be in fabric heaven for the year… Oh well, I ordered 4 bolts from Dharma and the cost is just about the same with shipping and money exchange. I love fabric. :-)

Sunday, January 3, 2010

Liard Hot Springs

Today I was reading about polar swims that people do for charity.  That is people dumb enough to go in super cold water and swim around pretending they enjoy it. I have done this twice. I was nuts the first time but then I did it again! This is when I was younger and had a figure. But this Christmas hubby and I drove out to Alberta (which is above Montana for those who don't know Canada very well). About 10 hours away is a wonderful hot springs at Liard that we like to go to. I've attached a pic so you can see, this is not a fancy, done up resort but a rustic pond in the bush. You have to walk in about 10 minutes to get there and it was COLD!

image

The vehicle said minus 22, but it had to be at least minus 30. The soak was wonderful but changing into clothes in that weather OUTSIDE was brutal. My feet stuck to the wood planks and my hair was a frozen mass. But the weirdest thing was that all the rest of the day my heart hurt. I told my hubby that I had gotten a “cold heart” and he was getting really concerned. So was I. I'm only 45 but I thought I was having a stroke or something. But a good nights sleep and rest was all I needed.


imageThis is not my picture, I just really like it. It must not have been very cold since there is very little steam going on.


The reason I mention the hot springs is that I have always thought the frost on the trees in winter were beautiful. I would LOVE to do this in a mixed media format someday.

Saturday, January 2, 2010

Batik Fabric

Today I finished the last of the soy batik prints I am making for an upcoming quilt class I am teaching. I don’t want to spoil the surprise so Janet—close your eyes.

Here are soy wax flakes. I order them from Dharma Trading Company.

image


Here are the pieces I made today:

soy4

I find batiks a lot of fun to do and soy wax is way less fussy and messy than using paraffin wax. I didn’t use MX dyes today, so I made the decision to paint on Setacolour transparent paints since that was what I had on hand. I love these paints and I use them exclusively for fabric painting.

soy1

I mix the soy wax in a double boiler on the stove. I put the flakes in a measuring cup and then melt the wax that way. I recently heard of a great tip that I tried this time—I heated up a crock pot with boiling water, set it on high, then placed my melted wax in the measuring cup over the rim of the crock pot. It kept the wax nice and liquidy. I do not have a dedicated pan for this--yet!

I tried a variety of utensils to make the marks. The picture below does not show the difference in colours very well. I have a terrible, old camera and I cannot get good pictures from it. I even tweaked this one in Photoshop and this was the best I could do…  :-(

soy3In the orange/brown forefront fabric on the bottom left, I dipped a rectangle of sponge in the wax, and also used one side of a paper cup. There is also a piece of tubing used here I think.

In the grey piece beside it, I used 3 toilet paper tubes held together with an elastic. I overlapped the rings.This was the easiest of all the pieces to make.


In the middle blue piece, I used the rings again and a spool of thread.

The purple piece near the top was made with 2 coil type stamps. Very messy—I won’t do that again.And the paint was WAY too watery. I usually do 1/1 part Setacolour to water. This must have been 1/4 parts water.


And the orange piece at the top, the one you can barely see, was with a Tobleron chocolate bar that I found on my desk. When done using it as a stamp, I ate it.

The green fabric below is made by dunking the end of a chopstick in the wax and also by splattering wax on the fabric. I want this for fish fabric.I noticed that adding black to any Setacolour makes it richer and darker for this technique.


soy1

When the wax has hardened, minimum an hour, I crumple the fabric to break up the wax and get some cracks happening. Then I use a paintbrush and stroke on the Setacolour. I usually use two colours to get some variety, but that depends on my mood. When that dries, I lay the piece between sheets of newspaper and iron very well—about 3-4 minutes in each area. For these pieces, I changed the newspaper at least twice to get the wax off, but I think I could have gotten away with less ironing.

It was easy and less messy that other wax, that’s for sure! With paraffin wax, I have used at least 1 whole newspaper for each piece. And its toxic, not environmentally safe and harder all around.


You can even use a tjap! This beauty is from Dharma Trading Co.

image

Look at this AWSOME piece by Cathy using a tjap. BTW—her site is awesome.

image

I left the pieces to cure overnight, then I rinsed them in hot water with Dawn soap. This combo helps the wax just fall off. Then I either let this dry again, then iron it OR sometimes I iron the piece when its wet. Some of the colour comes out in the rinse water and I am sure if I had used thickened MX dyes the colours would have been deeper. But I needed to try this technique for the class since I don’t want to use MX dyes that day.

Overall, I think Setacolours work OK for this project. I have asked my hubby to see if he can find an old electric fry pan from a pawn shop or such place since he is still in the ‘big city’. I think that would allow for larger stamps—like a trivet I have and a wire circle thingie.

Two classes down, 3 to go…

Friday, January 1, 2010

Year 2010

imageGolden Rain-- Victor Nizovtsev

I have been pondering the new year and what I hope to do with it.

Looking back, I am pleased about a number of things I wanted to do and accomplished:

  • reduced my fabric stash

  • fewer impulsive buys

  • changed my work outlook which led to a job change

  • taught myself more creative things

  • reconnected with friends


Things I did not do so well was lose weight, watch my eating habits and didn't take my dog for enough walks.

So for this year, I want to get healthy, take the dog for more walks when the weather permits and I will continue to reduce my fabric stash.

Thursday, December 31, 2009

Snow Dyes!

It is December 30 and I have less than a week to get all of my samples done for the new classes I am teaching this spring. I do not think anyone in my community knows I have a blog, so I feel safe in posting my pictures.

I belong to an online dye group who I think invented snow dyes. In fact one of our members who inspired us all to try it, recently published an article in Quilting Arts Magazine on snow dyes. We are sure proud of her!

I find that my snow dyed pieces look like Monet gardens--somewhat mid to soft tones. It doesnt matter if I use super strong dyes, I seem to get a really nice muted look on pieces. It contrasts nicely with my soda soaked deep parfait pieces I love to make.

I think all of us do the snow dyes somewhat differently. Some dye the snow, then add it on top of fabric. Others put the snow on top and then dye it. I even have a friend who lives in a part of the world where there is little to no snow and she uses shavings from a snow cone machine (Wil). Here is how I do snow dyes.

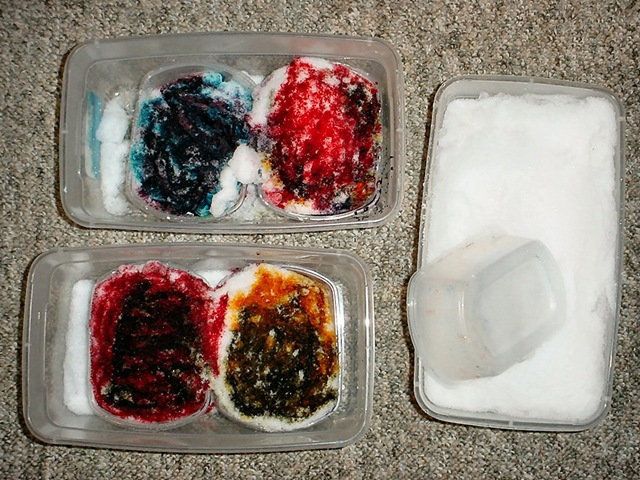
DSC00732

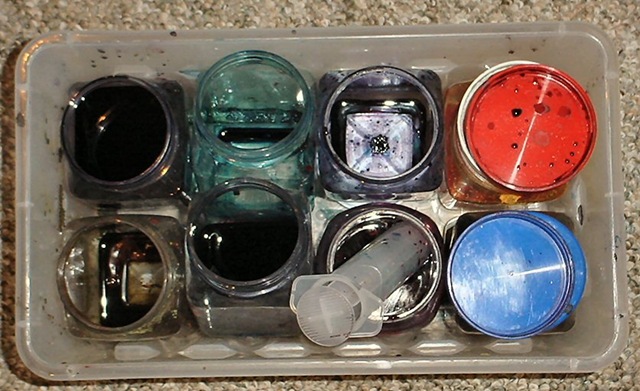
Gather dyes and get a syringe. I use about 110ml per fat quarter.

DSC00733

Put fabric (that has first soaked in SA for 20 minutes) in a small container, lay a layer of snow on top--about 4 inches, then lay on the dyes with the syringe In these examples I used older dye—some was at least a year old.

DSC00736

This is one of the pieces. It is wet in this photo. I am not happy with the look and I think the age of the dye played a role in the lack of sharp detail. I find that snow dyes, as opposed to other methods of dyeing, gets fabric to have a soft edge but with crazy sharp edges if one uses lots of colours. I think I will redo these pieces tomorrow.

I have a batch dyeing in a different manner (drained over a sink), with new dye and we’ll see if that makes a difference.

4 more classes to get going!

Christmas 2009

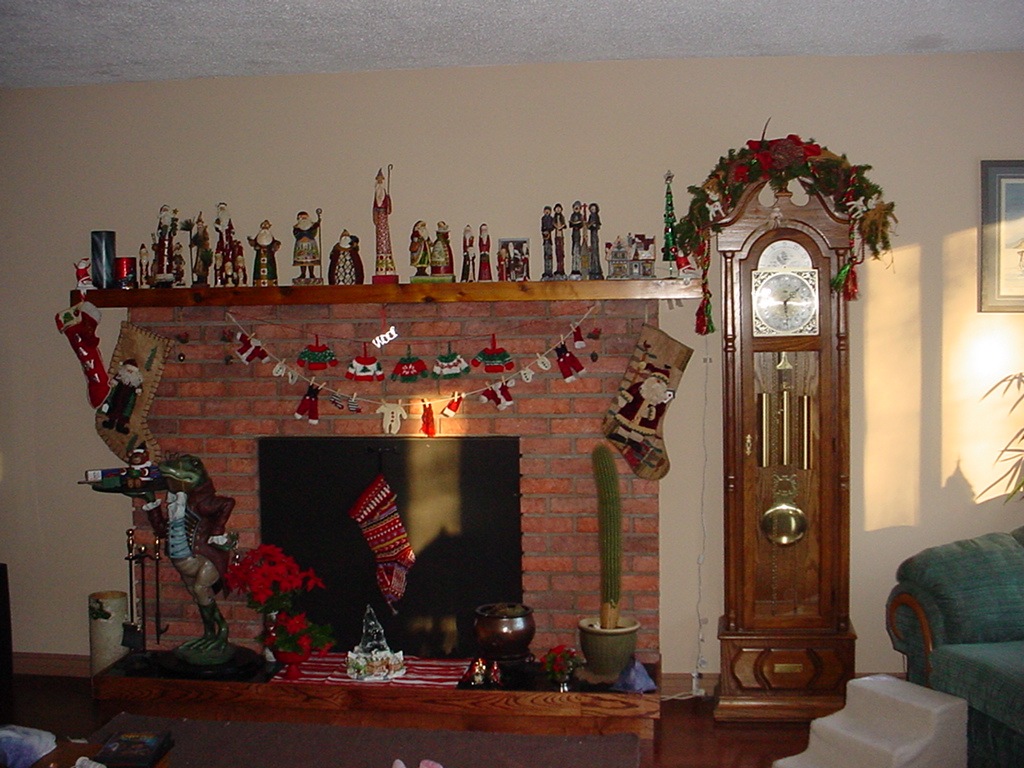
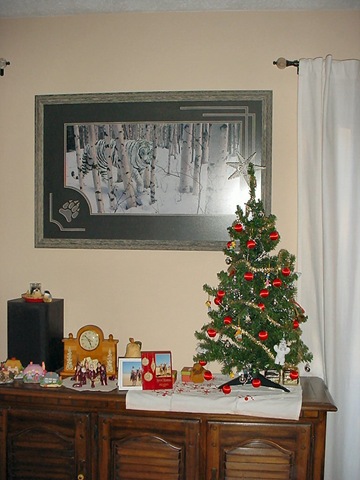
This year, as always, my husband and I went away to visit family. But I still needed to do some decorating, so I put the santa’s on the mantle and the little tree on the sideboard. Today when I flew home, I was very happy to see some Christmas still around.

DSC00723

DSC00726


I hope you all had a wonderful, stress free Christmas. And I hope to see you all in the new year.