Wednesday, August 19, 2009

Wedding Quilt Quilting

So I have pieced together the extra batting needed for this extra large quilt. I have spray basted the layers together, and sat at my sewing machine for 1/2 an hour deciding how to quilt it.

DSC00343 

I am stumped.

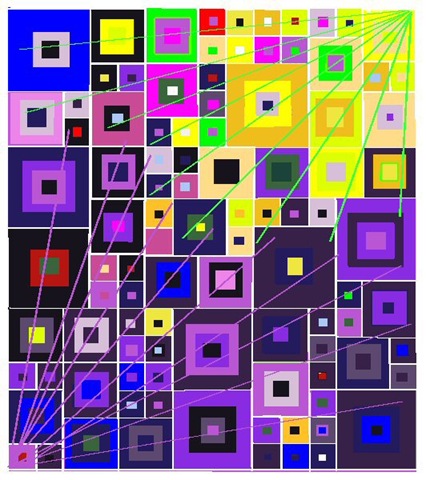
So for the last hour I played around with the design and think this is it. Radiating lines from the light to the dark resembling sun streaks like this:

sunbeam

Then I thought a double starburst like this:

douoble starburst

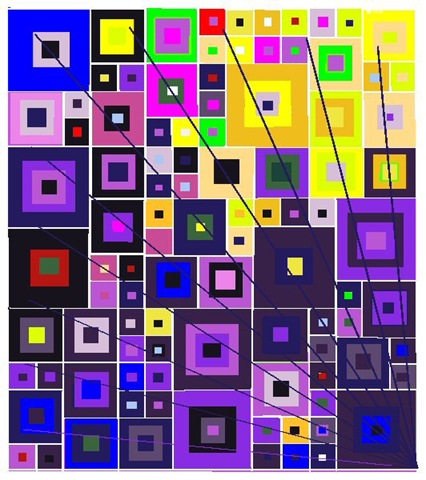
Or going this direction:

starbursts dark

Hmmm.. I need to think about this a bit more.


Tuesday, August 18, 2009

Rust Dyeing

In July I decided to do some rust dyeing as the weather was nice and hot and I had a ton of rusty metal sources. I live in a country residential area and I think there was a local garbage dump near here at one point. Lots of lovely old rusty bits to steal borrow and use.


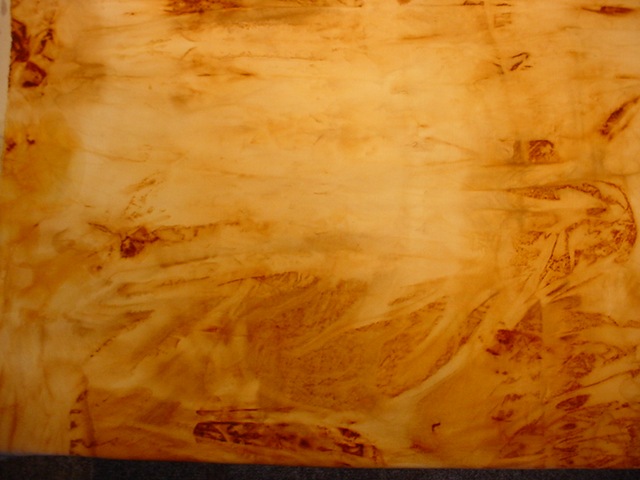
I ended up with a lot of lovely rust pieces. Here are a few:

DSC00389

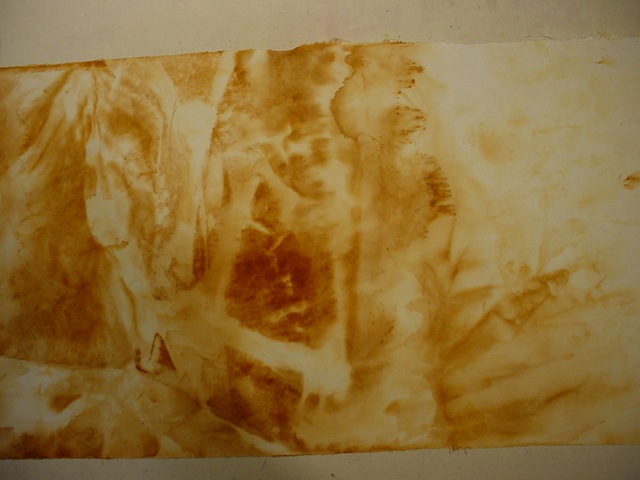
Rust dyeing is easy. You wet the fabric with vinegar, drape and wrap it around rusty pieces and leave for a couple of weeks.

DSC00386

I would wet it with water one day, then a week later when I remembered, I added more vinegar. Then I left it for a couple of weeks until I got to it.

DSC00387

For a simple technique, it sure looks good. Just have to have patience..


DSC00388


Washed in syntrapol and hot water and its good to go. I absolutely love these pieces!

Stained Glass-Continued

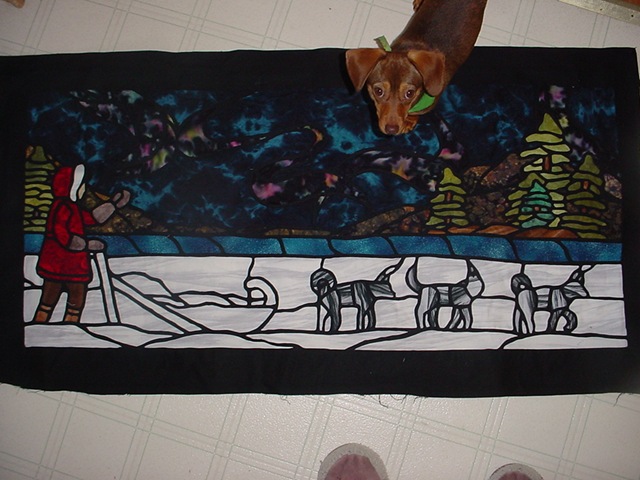
I have been working steadily on a reverse appliqué stained glass pattern that I picked up over 4 years ago. It is very big, 30 x 65”, so the sheer size was such that I didn’t get around to it.

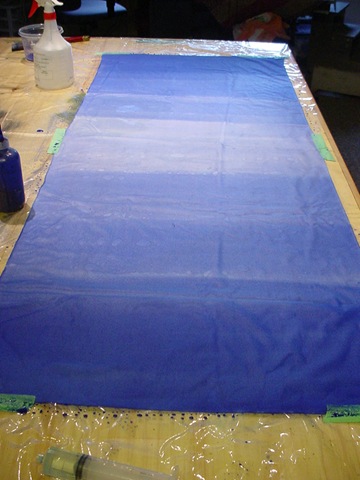
As I am on holidays, I decided to get started. So here is the background piece I painted.

DSC00366

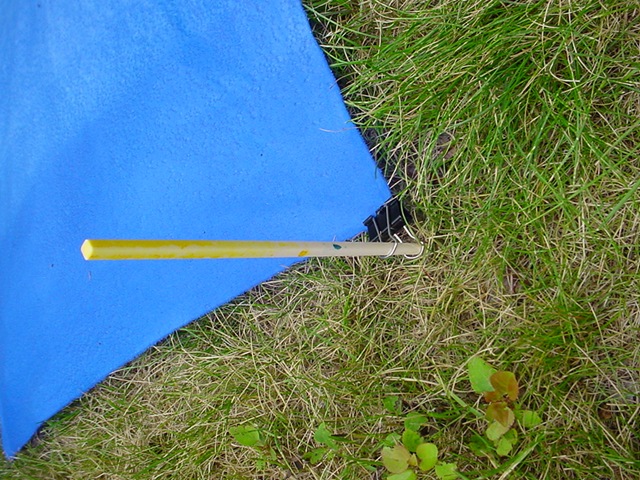
Since I don’t have a frame big enough for this piece, I dried it outside. I didn’t want it to fly away in the wind, and I often use this type of setup to hold fabric. I push chopsticks in the ground that is attached to paper clips.

DSC00371

Here is a preview of the fabric with the pattern.


DSC00376

But I didn’t cut it wide enough! GRRRRR!!!!!!! 

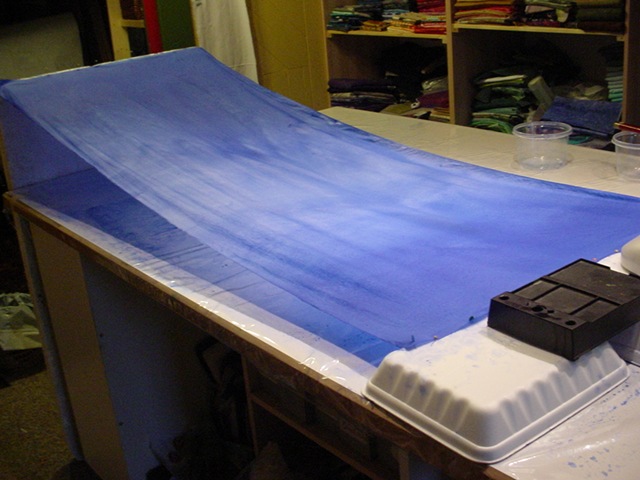
I had to make another piece of fabric and it was raining too hard to lay it outside. So instead I cobbled together an inside setup> Pin the fabric to a tall piece of Styrofoam on one end.


DSC00378

Then I used the heavy bottom of a couple of lamps to hold the other end. This just keeps the fabric off the counter.


 DSC00379   

Another view.

DSC00381


And a close up picture of the bottom half of the final piece :


DSC00385

Friday, August 14, 2009

Stained Glass Appliqué

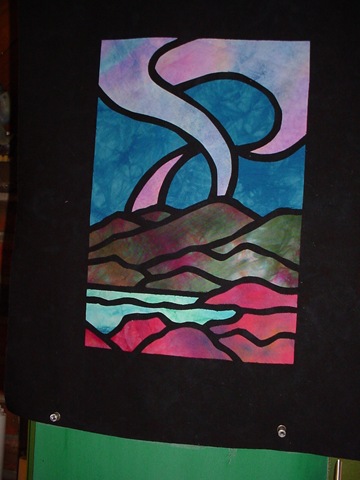
One of my favourite northern designers, Lise Merchant, has a book using reverse stained glass appliqué. I love her patterns and Lise lives about 15 houses from me. She has a huge studio overlooking the most beautiful section of the Yukon River surrounded by at least 5 HUGE mountain ranges. I am sure this is an inspiration to her creations..

Anyway—I have made a number of her stained glass wall hangings that I want to share:

DSC02189

Yap—that’s Ripley- the lead dog. This one hangs in my office and took 5 years to finish. It was a very time consuming technique using the reverse stained glass appliqué method. Not my favorite method by any means..

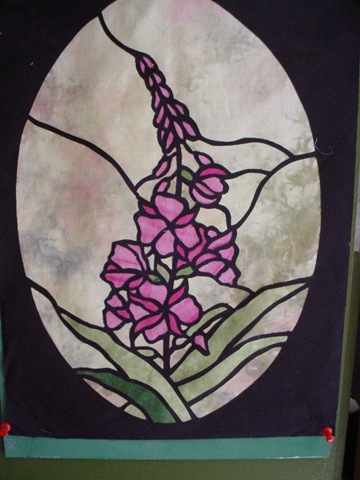
Then Lise wrote a book on an easy technique to do stained glass appliqué using fusible web. I took her class and made a dozen in 1 year. Here is a couple:


DSC00362 DSC00360


Right now I am working on a fireweed that is 72” tall! Will post it when done.I encourage you all to take a look at her book and technique if you get a chance.


Sunprinting

I have been asked to provide some sun prints for our quilt shop.

 DSC00355


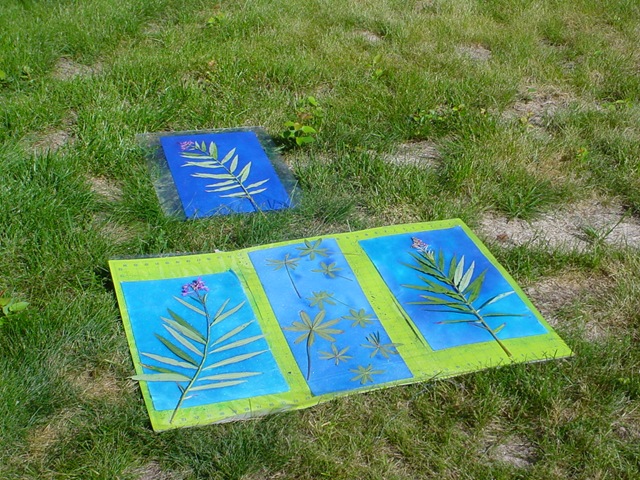
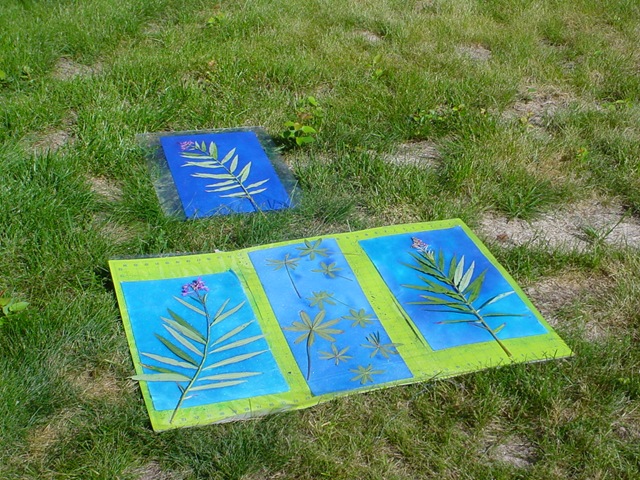
Yesterday was a beautiful, sunny morning, so I took advantage of the northern sun.


DSC00356


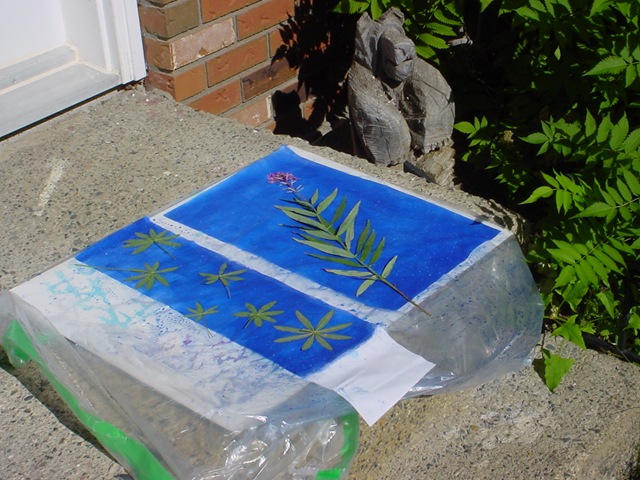
No fancy set-up, just my lawn and front steps. And my oven.

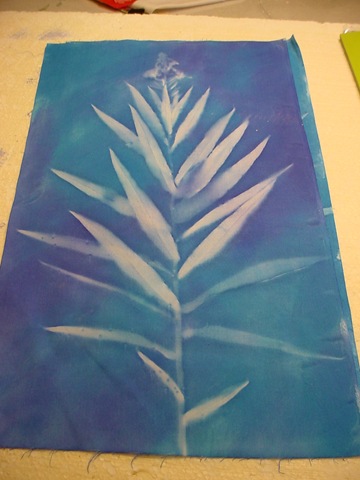
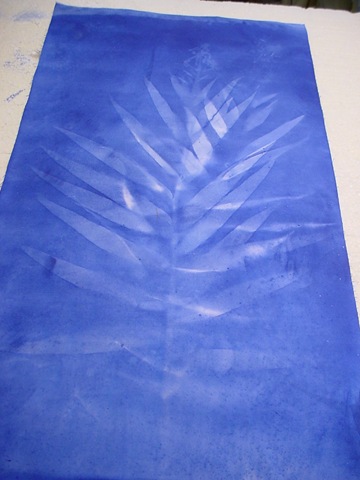
Below is a close up of a traditional print. Any transparent paint will do, I use Seta Color by Pebeo. This one is a combo of turquoise and ultramarine. Working quickly, paint wet fabric. Then place your resist into the wet paint, in this case I used fireweed that had been pressed flat. Put the piece in the sun until its dry. Today it was sunny, so an hour or two was fine.

DSC00357

I press a lot of flowers and leaves during the summer and store them for winter printing. I use a couple of pieces of large Styrofoam as the press, then add a few heavy limber pieces. I leave the leaves for a couple of days if I am using them right away, otherwise I dry them out completely for a week or so. Then I store them in a large, dry container.


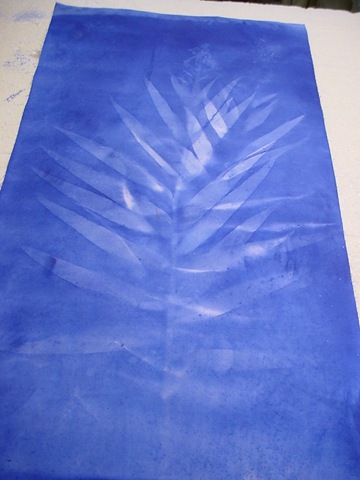
The piece below was done in the oven. This is the fastest way to do sun prints. The only con is that the piece becomes a bit rubbery.

Directions: I always make the print over a piece of glass (an old picture frame) that fits just right in my oven. Put a cookie sheet upside down on the racks or you will see the racks lines in the piece.  The lowest temp works best, I leave in for about 5-20 minutes, and take the piece out when its dry.

 DSC00361

Another one was done under halogen lamps. It makes the lightest transfer, but this could be that my lights are on the ceiling. Need to try with a halogen light closer to the work. Sorry, but I could not recall which was done under the lamps, so I cant show you a picture.


The last is a double print. Since these are transparent paints, the under layer shows through. A great way to make complex cloth!

DSC00359

My preference is always the sun, but in the Arctic, that is only good in the summer. I am doing a lot of sun prints this month.
Chickens!

A few years ago I received a wonderful chicken pin cushion from Sandra Fiegi, a long-time dye buddy of mine. I use mine all the time and think of Sandra every time..

Recently I saw these little guys on the net, and decided I HAD to make some myself.

DSCN4378

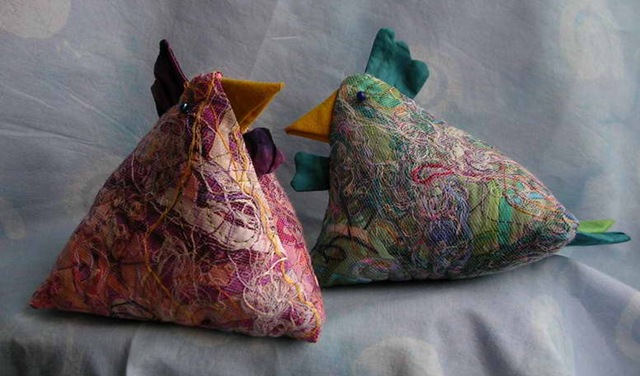
So here is my HUGE chicken. The squares are almost 9”, so that’s a big chicken! I made about 5 of them in total.

DSC00186

But I really want to make this pincushion! Seen in an Etsy store a while back..  :-)

il_430xN.37907163

Its Been A While

So I am in a dilemma—carry on from this point, or go back and add posts that I wished I had added all along. Hmmm—maybe a combo of the two will happen. I am on holidays for the rest of the month and have the time, so we’ll see what this blog looks like in 2 weeks.


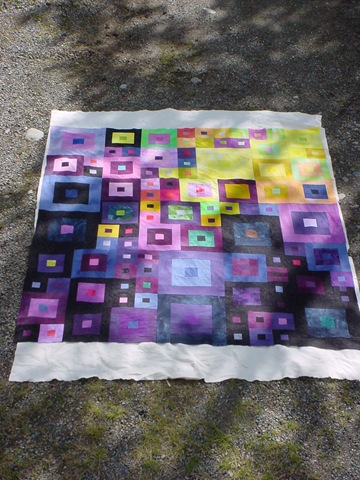
For now, here is my latest project. A wedding quilt for a young lady whom I have know for a long time.

DSC00343


I know its not the greatest picture, but it is still a work in progress. She loves purple, so I really, really tried. It evolved into this mock up I did in PSP:

MatchPlay Wedding Quilt final picture

The pattern developed from a picture I had seen of a class taught by Sonja Shogren called Match Play. I wrote her asking if she had this class for sale. She did, but I had to do the quilt before I got her class plan. To be honest, I still do not have it yet (yaah mail service), so designed this from the picture on her site. It was fun, but time consuming. I will definitely make more of these though.


Off to layer the beast—its big—about 108” x 108”, so I will have to work on my biceps so that I can manage this guy when I quilt it.